How to Prepare Your Wedding Day Stationery: Timelines, Tablescapes, and Stress-Free Planning Tips
From menus and place cards to seating charts and signage, wedding day stationery serves as a key element in unifying wedding decor and enhancing the guest experience. By planning these details early, everything can be received on time and stress-free. This guide provides essential information for ordering and organizing wedding signage and stationery, including timelines, setup tips, and important details to remember.
1. Cohesion from Invitations to Wedding Day Stationery
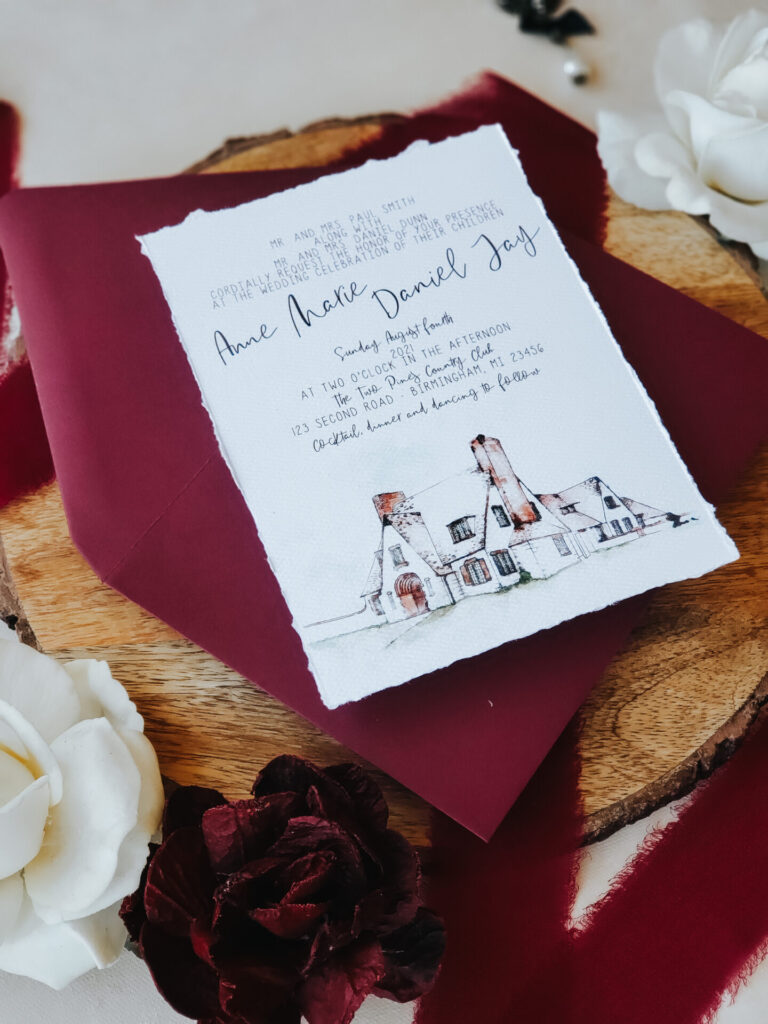
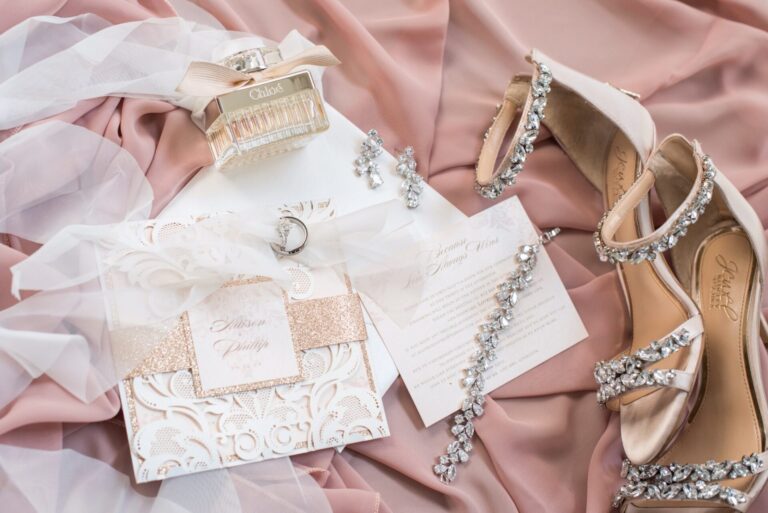
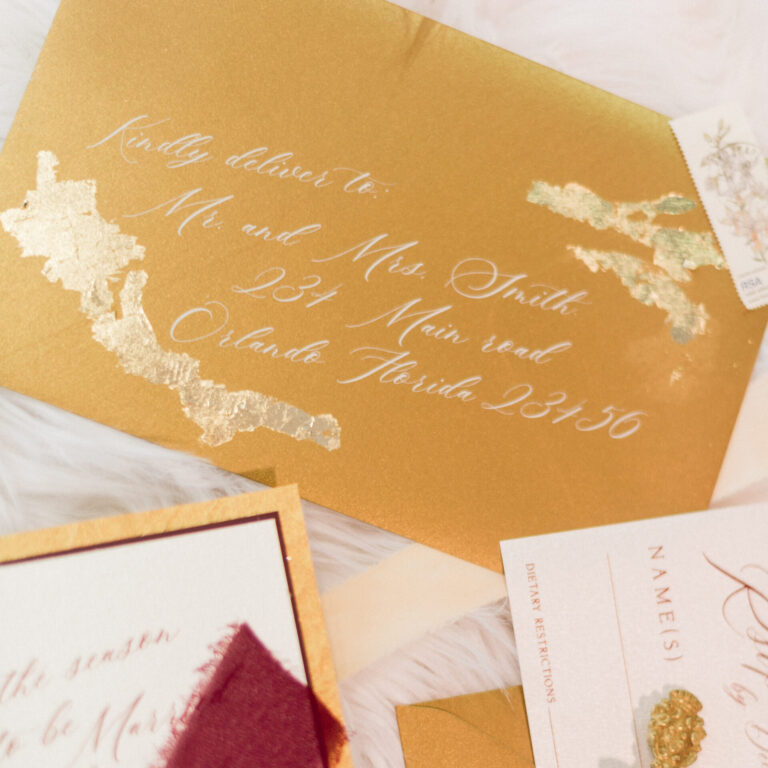
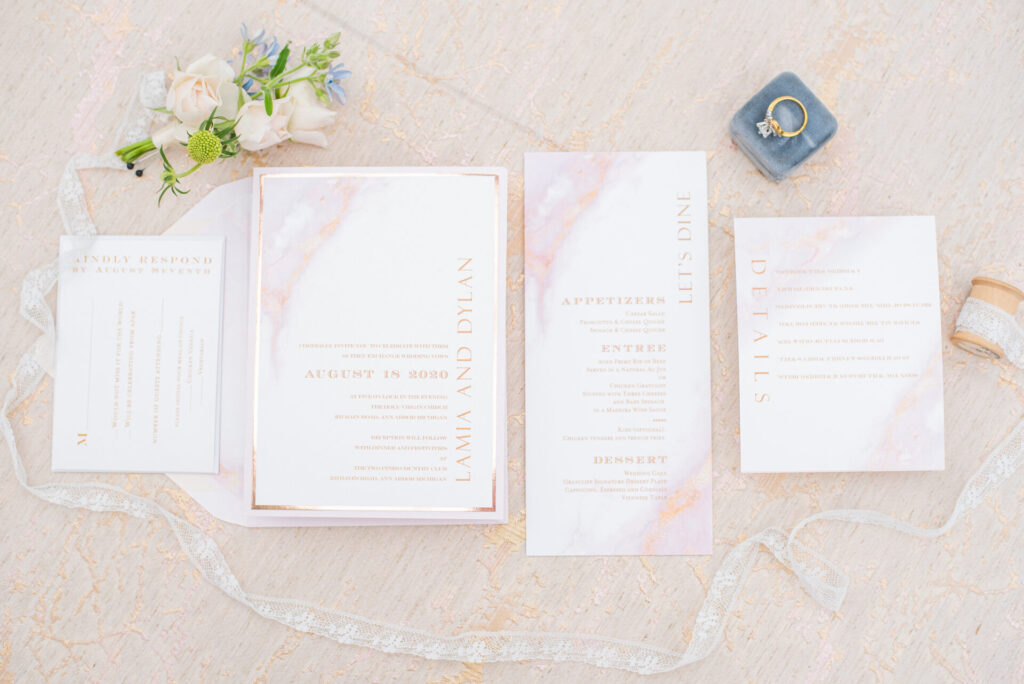
Your wedding day stationery should reflect the design and feel of your wedding invitations to create a consistent and polished look. Incorporating similar fonts, colors, or design elements into items like place cards, menus, and signage ties everything together, making it feel cohesive from the moment guests receive their invitation to the final touches at the reception.
2. Timelines for Ordering Wedding Day Stationery and Signage
Once you’ve sent invitations and received RSVPs, it’s time to start planning your wedding signage and stationery. Each item requires time to design, finalize, and produce, so beginning early helps ensure everything is ready and stress-free.
Breakdown of Ordering and Approval Stages:
- Starting the Order: Start planning as soon as you send out your invitations. List every day-of item you’ll need—seating charts, table numbers, menus, place cards, and signage. Decide on fonts, colors, and other design details that complement your tablescape and overall decor.
- Finalizing & Approving: Aim to finalize all items 20 days before the event. By this stage, your guest list and table assignments should be ready, and designs can be confirmed. Approving proofs 20 days ahead allows enough time for production.
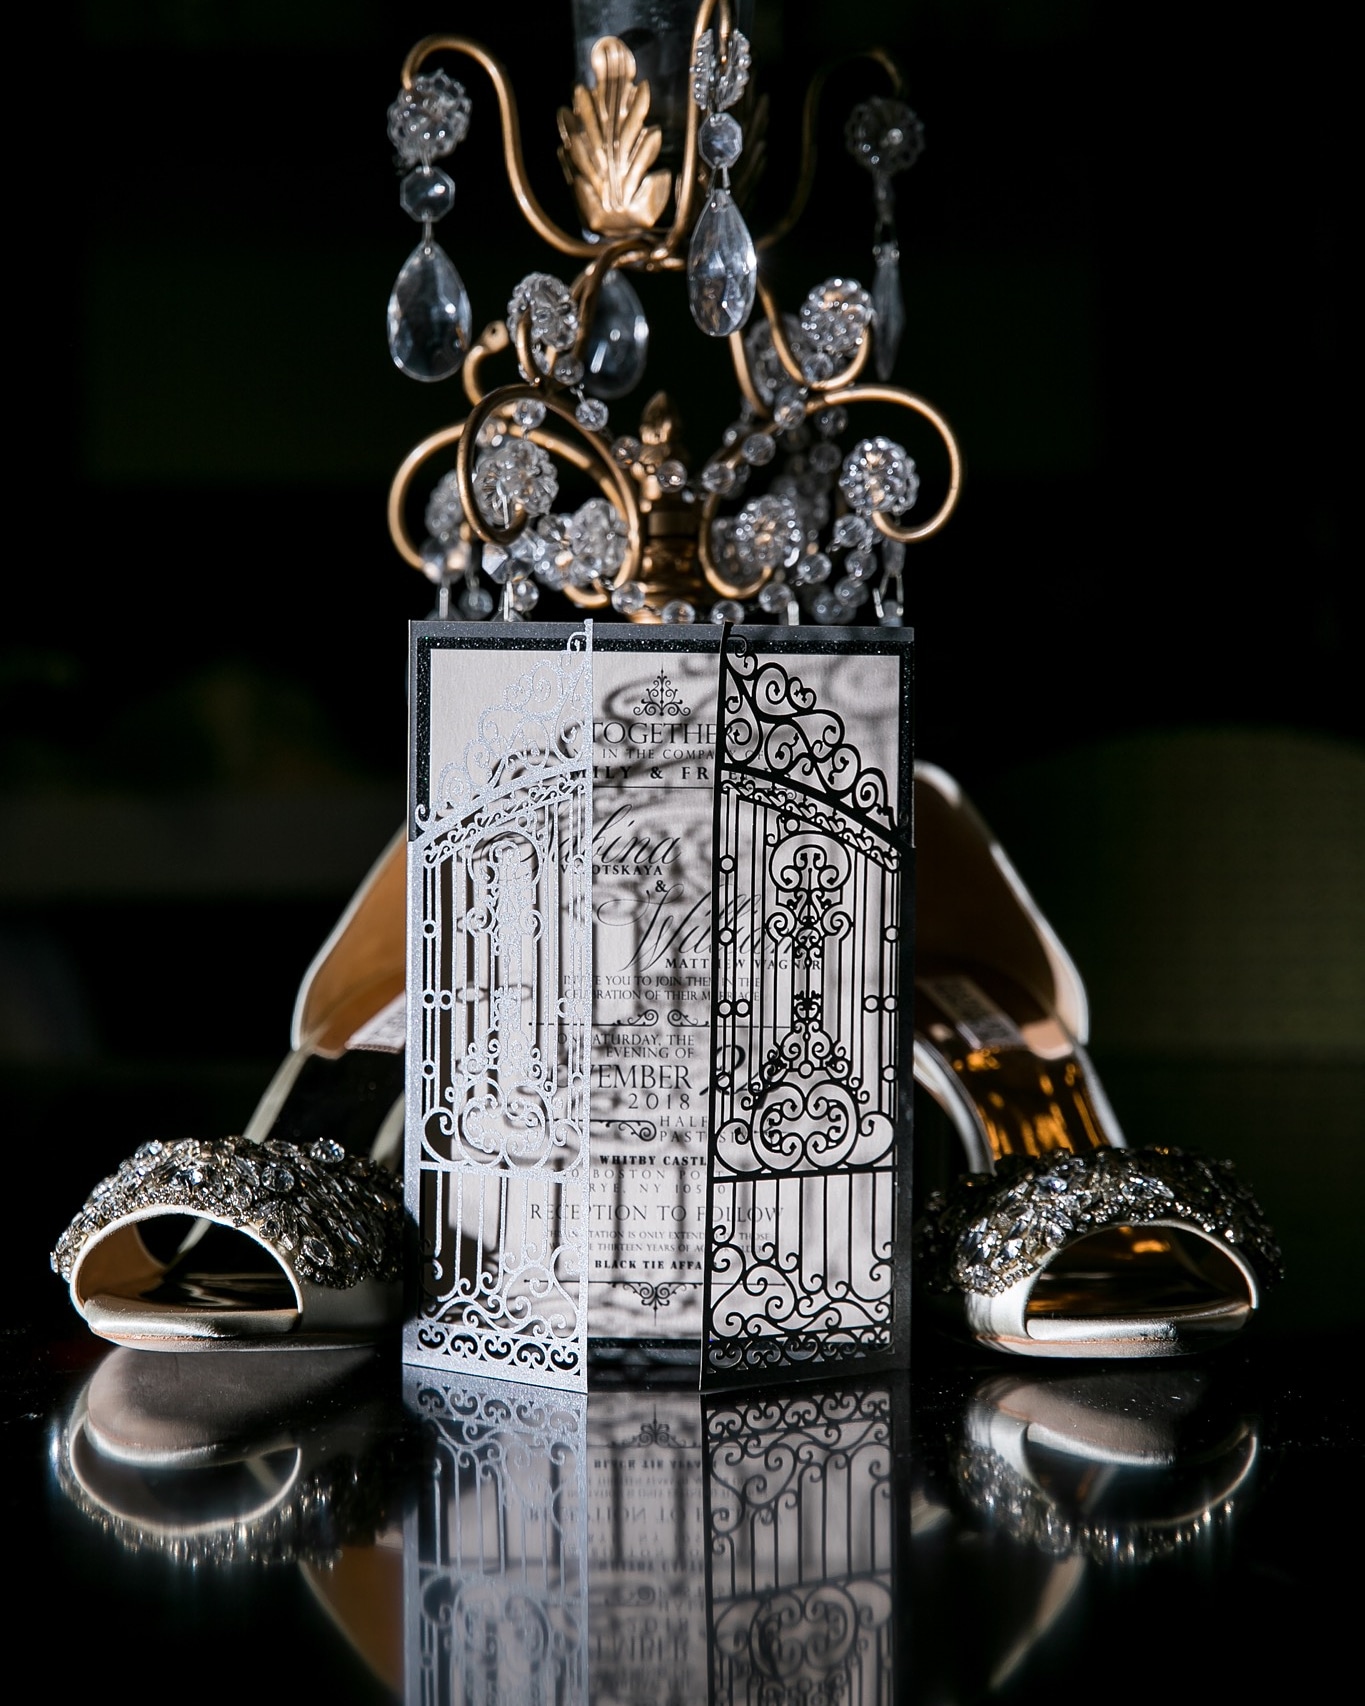
More Complex Items Require Extra Time: Some day-of paper goods, like laser-cut items or layered menus, need additional production time due to intricate design. Items that may require more time include:
- Laser-Cut Signage and Stationery: For delicate cut-out designs
- Layered Menus and Place Cards: Add depth and elegance but need extra assembly time
- Die-Cut Programs: Custom shapes or detailed cuts add sophistication but require more production time
- Acrylic Signs or Larger Displays: Involve specific materials and drying times, especially for larger pieces.
3. Creating a Cohesive Tablescape with Menus, Place Cards, and Table Numbers
When designing your wedding day stationery, it’s important to plan with your tablescape in mind. Decide early on how elements like menus, place cards, and table numbers will complement the entire table setup. < more passive voice
- Define the Tablescape Style First: Before finalizing designs for paper goods, consider the overall tablescape. Decide on key elements like table linens, chargers, and glassware, as these will influence your stationery design choices.
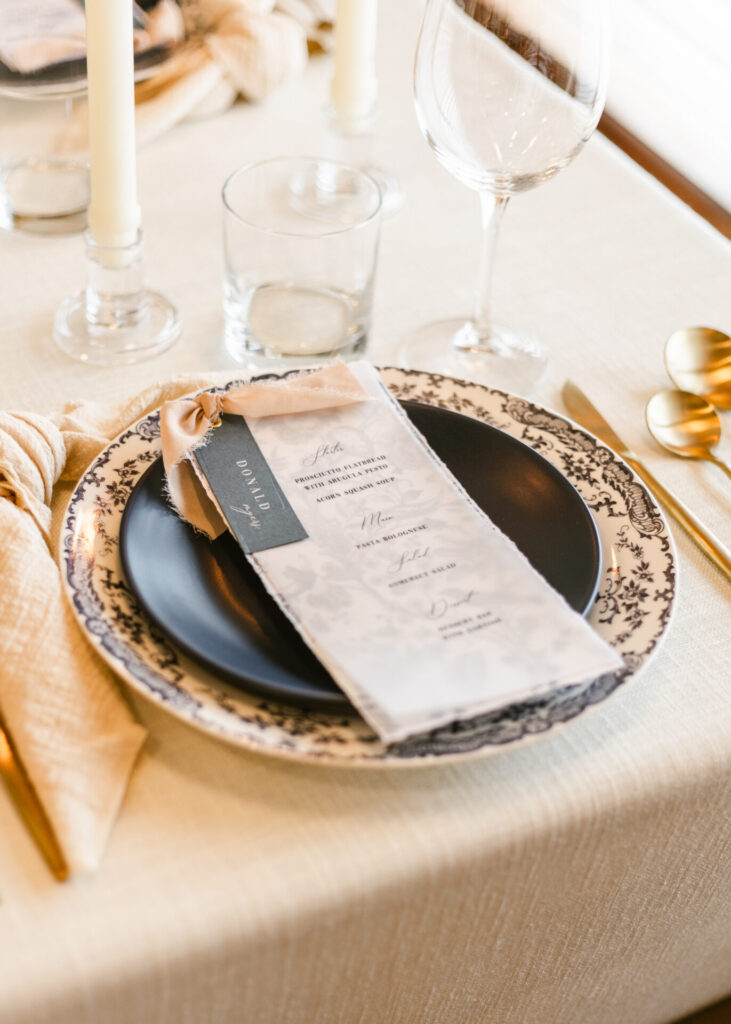
- Menus: Choose how you’d like to display menus—either on each plate, tucked into napkins, or alongside other decor. Menus should complement the tablescape’s color scheme, and coordinate with your other wedding day stationery items.
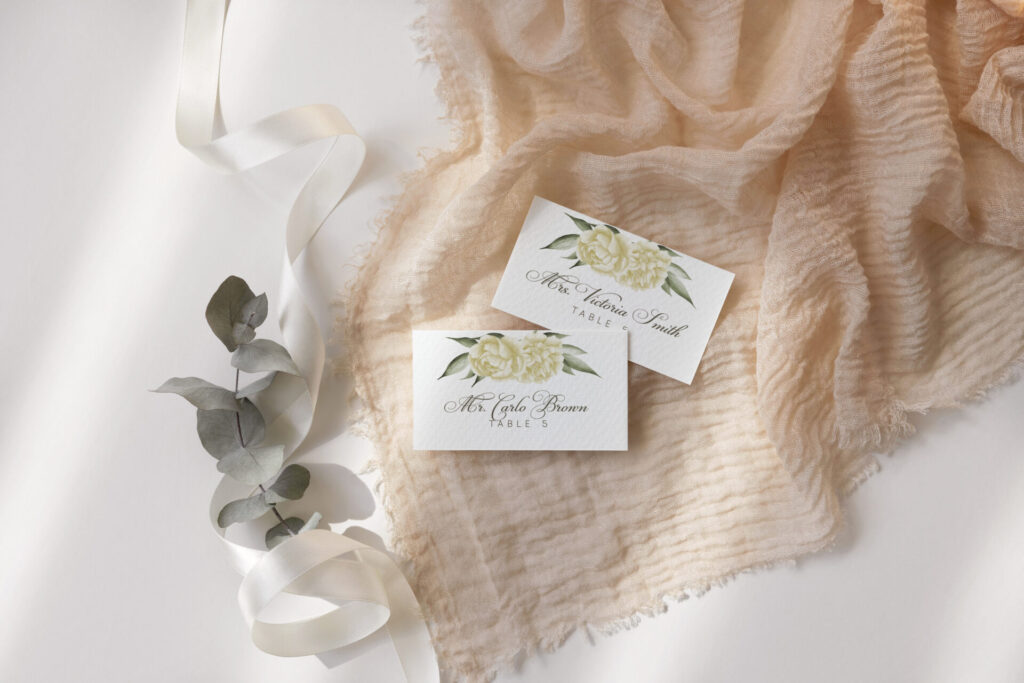
- Place Cards: If using place cards, consider how they’ll be integrated. Place cards that match the menu and table numbers create a polished look, and they can also serve as name cards.
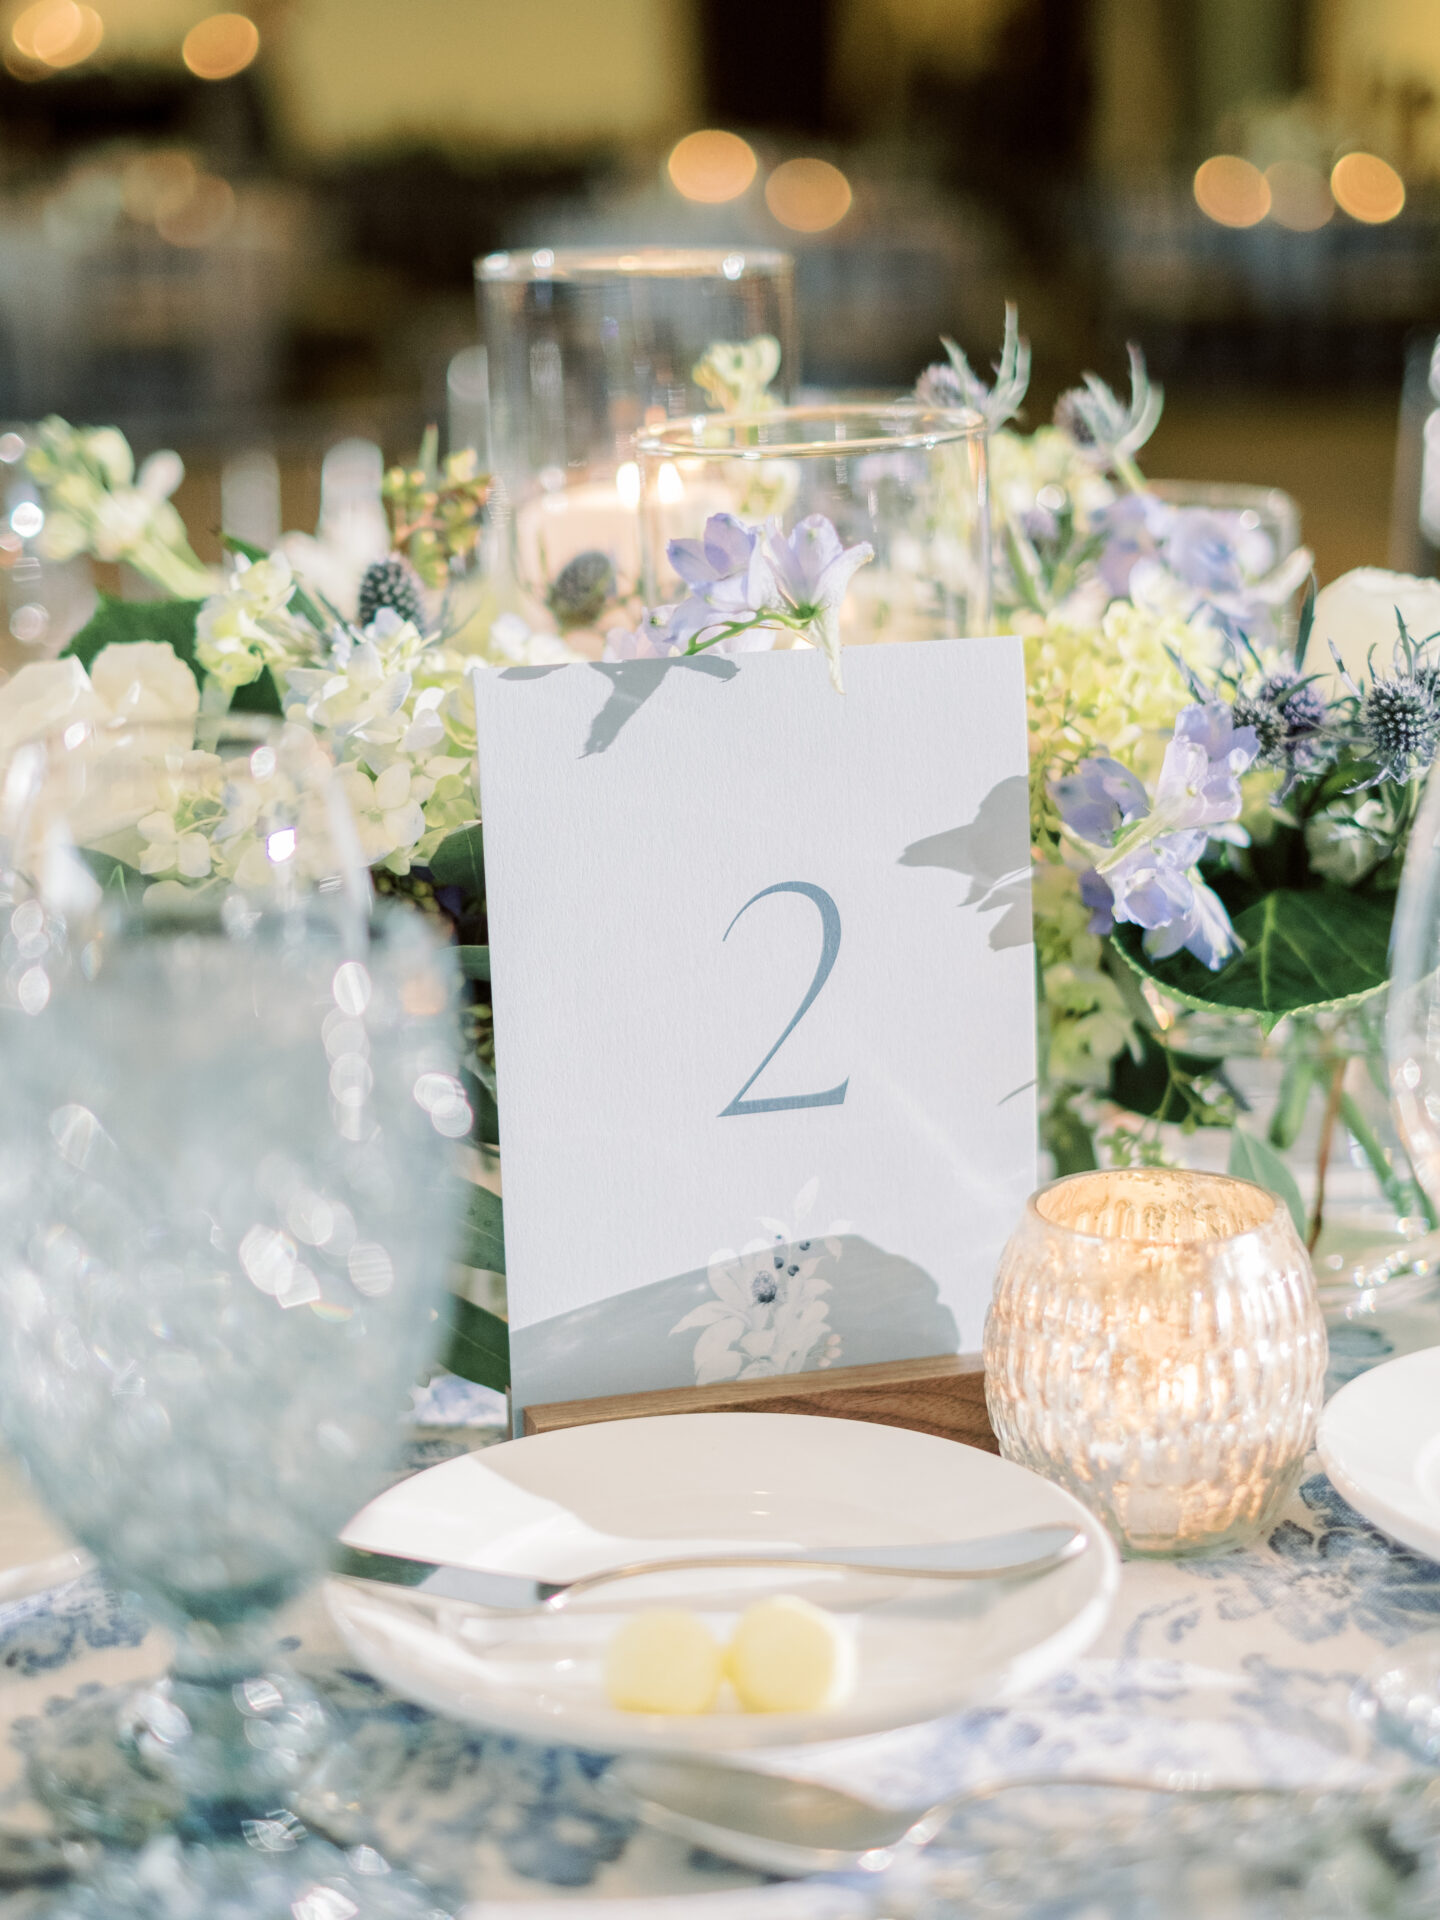
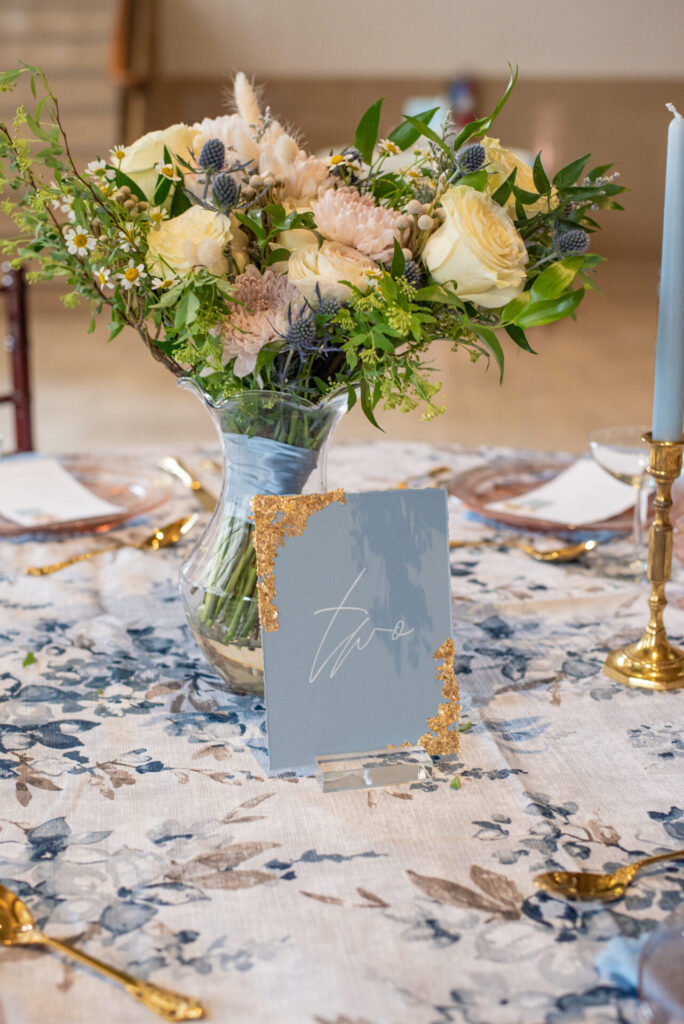
- Table Numbers: These are essential for guiding guests and should be visible and styled to match the overall theme. Check with your venue to see if stands or holders are available or if you’ll need to provide them.
Pro Tip: To keep a cohesive look, details from the invitations—such as colors, fonts, or design elements—can be incorporated into tablescape stationery. This approach ensures consistency throughout the entire wedding.
browse all day-of items…
4. Planning Seating Charts and Escort Card Displays
Seating arrangements play a key role in organizing the reception and are typically displayed with either a seating chart or escort cards. Choosing the right option depends on the size of your guest list and how flexible you need to be with final assignments.
- Seating Chart: A seating chart lists each guest’s table assignment on a single display and is ideal for larger events. It’s a polished option, but if you have many last-minute changes, it may be challenging to update. Pro Tip: If there’s a high chance of last-minute guest changes, an escort card display is often easier. Individual escort cards can be added, removed, or rearranged, making it a more flexible choice.
- Prepare Table Assignments Early: Once RSVPs are in, use a spreadsheet to organize names, table numbers, and any special notes. Double-check to ensure families and groups are comfortably seated.
- Stand Requirements: Many seating charts require an easel or stand. Check with your venue to see if they can provide these or if you’ll need to rent one.
For a full guide on escort cards, place cards and seating chart, please visit our post here.
5. Additional Wedding Signage and Details: Welcome Signs, Programs, and More
Welcome Signs: Welcome signs are typically displayed at the ceremony entrance, greeting guests as they arrive. They can also be moved to the reception area if needed.
- Plan for Display Needs: Most welcome signs need an easel or stand, so confirm with the venue if they can provide one. Arrange for someone to move the welcome sign if it’s used in more than one location.
Programs: Wedding programs outline the ceremony order, highlight the wedding party, and may include special notes for guests. For accuracy, confirm details with your officiant and double-check for any errors.
Directional Signage: For any additional signs, such as “Reception This Way” or “Guest Book Here,” make sure they’re easy to read and fit with your theme. Coordinate placement with your venue or planner to ensure guests can easily find their way.
6. Final Checklist / Setup Arrangements
Ensuring every detail is covered helps make your day run smoothly. Here’s a checklist for last-minute preparations and delegation.
- Have Everything In-Hand: All items should be in hand 5 to 10 days before the event. This gives you time to inspect them, make sure quantities are correct, and address any unexpected issues.
- Assign Setup Tasks: Delegate setup responsibilities to trusted friends, family members, or a coordinator. Here are common assignments:
- Seating Chart or Escort Card Display: Arrange for someone to place these at the reception entrance.
- Program Distribution: Designate someone to hand out or place programs on each chair.
- Table Number and Place Card Setup: Make sure these items are displayed correctly at each table.
- Signage Placement: If using directional or additional signs, ensure they’re positioned where guests will see them.
- Check for Stand Availability: Contact your venue in advance to ask if they have stands, easels, or holders for items like the seating chart, welcome sign, and table numbers. This saves time and prevents last-minute rentals.
a visual timeline
| Timeframe | Tasks |
|---|---|
| 2 Months Before | – Begin planning all day-of stationery needs (seating charts, menus, place cards, signage). |
| – Define tablescape style and determine the cohesive look with invitations (colors, fonts, design elements). | |
| – Consider any custom, intricate items (laser-cut signage, layered menus) and finalize designs to allow extra production time. | |
| – Start placing orders for complex items or custom designs. | |
| 6-8 Weeks Before | – Check with the venue on requirements for display items (stands, easels) and assess additional rentals if necessary. |
| – Confirm the final guest list and begin planning seating arrangements. | |
| 5 Weeks Before | – Finalize seating chart details based on RSVPs received. |
| – Review and finalize designs for all other day-of stationery items like menus, place cards, and signage. | |
| – Place orders for all items that don’t require frequent updates (like welcome signs and programs). | |
| 3-4 Weeks Before | – Approve all final proofs for day-of stationery and signage. |
| – Ensure designs for complex items (like acrylic signs or die-cut programs) are locked in. | |
| – Begin organizing table assignments in a spreadsheet with any special notes. | |
| 2 Weeks Before | – Confirm all orders are on schedule and expected to arrive on time. |
| – Arrange a dedicated setup team or person to handle day-of display needs (seating chart, table numbers, signage). | |
| 1 Week Before | – Receive and inspect all day-of items. Check quantities, confirm accuracy, and ensure all items are ready. |
| – Confirm setup responsibilities with the designated person(s) and communicate any specific requirements. | |
| – Organize items into labeled boxes by area (e.g., ceremony items, reception tables) to simplify day-of setup. | |
| – Arrange for someone to pick up or handle any reusable or custom items after the wedding. | |
| Wedding Day | – Ensure seating chart, welcome sign, and any directional signage are placed as planned. |
| – Place menus, place cards, and table numbers on tables according to the seating chart. | |
| 1-2 Days After the Wedding | – Collect any reusable signage or items you wish to keep as keepsakes. |
| 1 Month After | – Send out thank-you cards to guests. Consider a consistent design or elements that match the wedding stationery for a cohesive follow-up. |
Final Thoughts: Early Planning for a Seamless Event
Preparing your wedding day stationery early ensures your day flows smoothly, with every detail in place. By beginning the order process after sending invitations, finalizing designs 20 days before the event, and receiving everything 5 to 10 days early, you’ll be able to avoid any last-minute stress. Taking the time to coordinate your tablescape, delegate setup tasks, and confirm display requirements will help ensure your day-of paper goods and signage create a seamless, memorable experience for you and your guests.

