How to Mail Your Wedding Invitations: A Complete Step-by-Step Guide
Sending your wedding invitations is one of the last major steps before the big day. It’s essential to ensure they arrive on time and in pristine condition. This guide covers everything you need to know about mailing wedding invitations—from understanding postage to choosing the right envelopes and timing for different types of weddings. Following these steps will help you avoid common mailing pitfalls and send out beautiful, well-prepared invitations that set the right tone.
Step 1: Understanding Wedding Invitation Postage
One of the most critical steps in mailing your invitations is understanding the postage requirements. Here’s a detailed look at what affects postage costs and the options available for mailing wedding invitations properly:
What Is a Forever Stamp?
A Forever Stamp is a convenient option for regular-sized mail in the U.S. These stamps retain their value indefinitely, so even if postage rates increase, a Forever Stamp remains valid for one standard 1-ounce letter. However, most wedding invitations weigh more than an ounce, meaning you’ll likely need extra postage.
What Influences Postage Needs?
Wedding invitations often exceed the 1-ounce limit, especially if you’re including RSVP cards, details inserts, vellum wraps, or wax seals. Here’s how to gauge your postage requirements based on weight:
- 1 Ounce or Less: A single Forever Stamp may be sufficient if your invitation is a simple, lightweight card.
- Over 1 Ounce: Invitations over 1 ounce incur an additional charge per ounce. Currently, each extra ounce requires an additional 24¢. So, if your invitation weighs around 2 ounces, you’d need one Forever Stamp plus the additional-ounce postage.
- Heavy or Bulky Invitations: Invitations with many inserts, heavier paper stock, or layered designs may be heavier, making it essential to weigh one complete invitation to confirm postage costs.
A note about dark envelopes and white ink printing
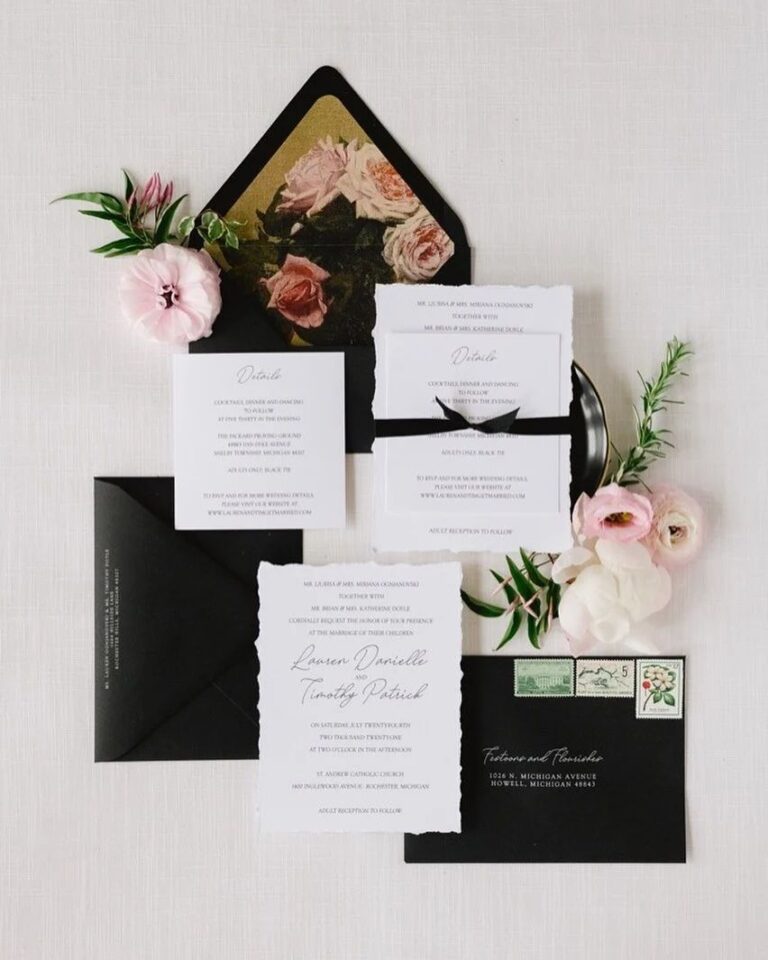
If you’re considering using rich black envelopes or elegant white ink printing for your wedding stationery, keep in mind a few important mailing considerations. These striking choices make a beautiful impression, but they often require a bit more care in the mailing process.
Because of their unique finish and readability challenges for machines, black envelopes—especially those with white ink—typically need to be hand-canceled by the postal service. This means each envelope is processed manually rather than through automated systems, which can take more time.
Additionally, darker envelopes with specialty printing may require extra postage, especially if you’re using heavier paper stocks, embellishments like wax seals, or if the envelope is non-standard in size.
To avoid delays or returns, we recommend taking a fully assembled sample to your local post office to have it weighed and approved before mailing the full batch.
Non-Machinable Invitations
Bulky, square, or uneven invitations fall into the “non-machinable” category. This requires extra care since they can’t go through standard postal processing machines. Here’s what to know:
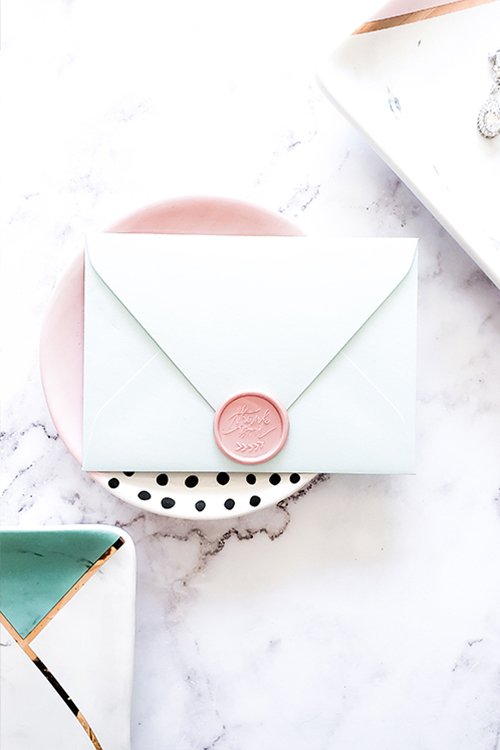
- Non-Machinable Qualifications: Invitations thicker than 0.25 inches, square invitations, and invitations with wax seals or other non-flat features are non-machinable. These require a non-machinable surcharge, currently an additional 40¢ per envelope.
- Hand Canceling Option: To reduce potential damage, you can request “hand canceling” at the post office. With hand canceling, each invitation is stamped by hand instead of going through sorting machines. This service is sometimes free but not guaranteed to keep mail separate from machine processing.
Pro Tip: Take a fully assembled invitation, including all inserts, to the post office to get an accurate postage estimate. Ordering extra stamps, particularly additional-ounce stamps, can be helpful in case adjustments are needed.
Step 2: Timing and Etiquette for Sending Wedding Invitations
Timing is everything when mailing wedding invitations. The standard recommendation is to mail invitations 6-8 weeks before the wedding. For destination weddings or events with international guests, aim for 10-12 weeks in advance. Here’s what to keep in mind:
- Save-the-Dates: If you’re planning a destination wedding or inviting guests who need to make travel arrangements, send save-the-dates at least 6 months ahead of time.
- RSVP Deadline: Set a clear RSVP deadline on your invitation, which will help you finalize your guest count well in advance of the wedding day.
Following these guidelines ensures your guests have plenty of notice and are well-prepared to attend.
Step 3: Etiquette for Mailing Wedding Invitations
Proper etiquette helps ensure your invitations look polished and professional. Here are a few important steps to consider:
- Include a Return Address: Always place a return address on the back flap of the envelope. This allows undeliverable invitations to make their way back to you.
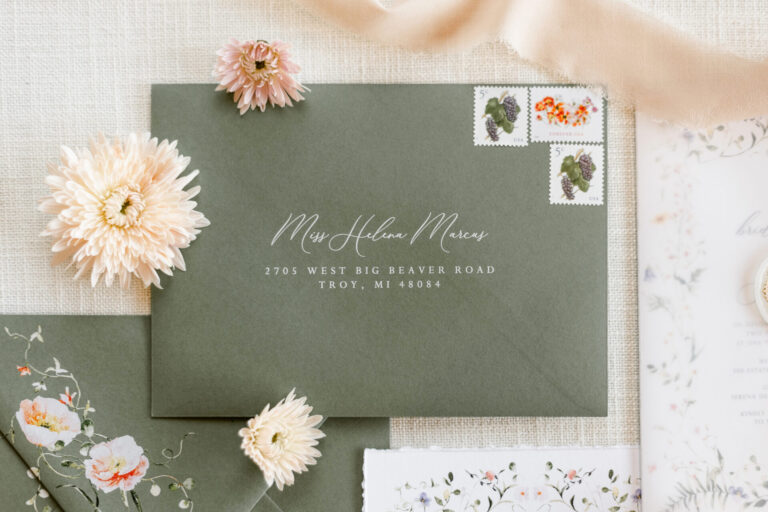
- Address Guests Properly: For a polished look, handwrite or professionally print guest addresses. Avoid using address labels, as they may appear impersonal.
- Add Postage to RSVP Envelopes: Including postage on your RSVP envelopes is a considerate touch, making it easy for guests to respond promptly.
These etiquette steps not only improve the look of your invitations but also make the process smoother for your guests.
Step 4: Choosing the Right Envelopes and Preparing Your Invitations
The envelope isn’t just a protective cover for your invitation; it’s part of the experience. Choosing high-quality envelopes and ensuring they fit your invitation suite properly will keep everything looking neat and organized.
- Consider Extra Padding: If your invitation suite includes delicate materials (like vellum or wax seals), or multiple inserts, you might want to add padding or use a larger envelope to prevent overstuffing and avoid damage.
- Check Size Requirements: Larger or thicker invitation suites may need larger envelopes, especially if you have layered designs or multiple cards. Choosing the correct envelope size avoids the need for folding and keeps your design intact.
Pro Tip: Custom stamps are available from third-party vendors and can add a personal touch that reflects your wedding’s theme. Ensure they meet the required postage for each envelope.
Step 5: Step-by-Step Mailing Process
Once you’re ready to send your invitations, here’s a step-by-step process to ensure they arrive perfectly:
- Step 1: Stamp and Address RSVP Envelopes
Adding postage to RSVP envelopes helps guests respond easily and promptly. You can either handwrite the return address or use a printed label. - Step 2: Arrange Inserts in the Correct Order
Place the main invitation on the bottom with additional inserts (like RSVP cards and details) on top. This organized arrangement keeps everything looking professional and helps guests find each item easily. - Step 3: Weigh One Complete Invitation at the Post Office
Unique invitation styles, such as square or heavy paper designs, may require additional postage. Weigh one fully assembled invitation at the post office to determine if extra postage is necessary. - Step 4: Add Stamps
Choose stamps that complement your invitation’s design. Whether you select traditional wedding-themed stamps or order custom stamps, be sure to get enough for both the main invitation and RSVP envelopes. - Step 5: Drop Your Invitations in the Mail
Aim to mail your invitations 6-8 weeks before the wedding, or 10-12 weeks for destination weddings. For added security, you can request hand canceling to prevent damage during mailing.
Key Takeaways
By carefully considering postage, timing, etiquette, and envelope selection, you can ensure your wedding invitations make a beautiful impression on your guests. Mailing invitations is a thoughtful step that deserves careful attention, helping your guests feel welcomed and excited for the big day.
Following these guidelines will help you send your invitations out smoothly, providing your guests with all the details they need in a beautifully presented package.

